Installation
Here you can find an explaination on how to set up your printer.
1. Add the 3D printer to the network
- Use an UTP-Cable
- Connect to WIFI. Click here for the guide.
Write down the IP-Address:
- Configuration
- Network
- IP (at the top)
2. Enable printer & material
In LutraCAD, go to
- Account
- Settings
- 3D printer
- Enable: IdeaFormer – LutraCAD Nimbus.
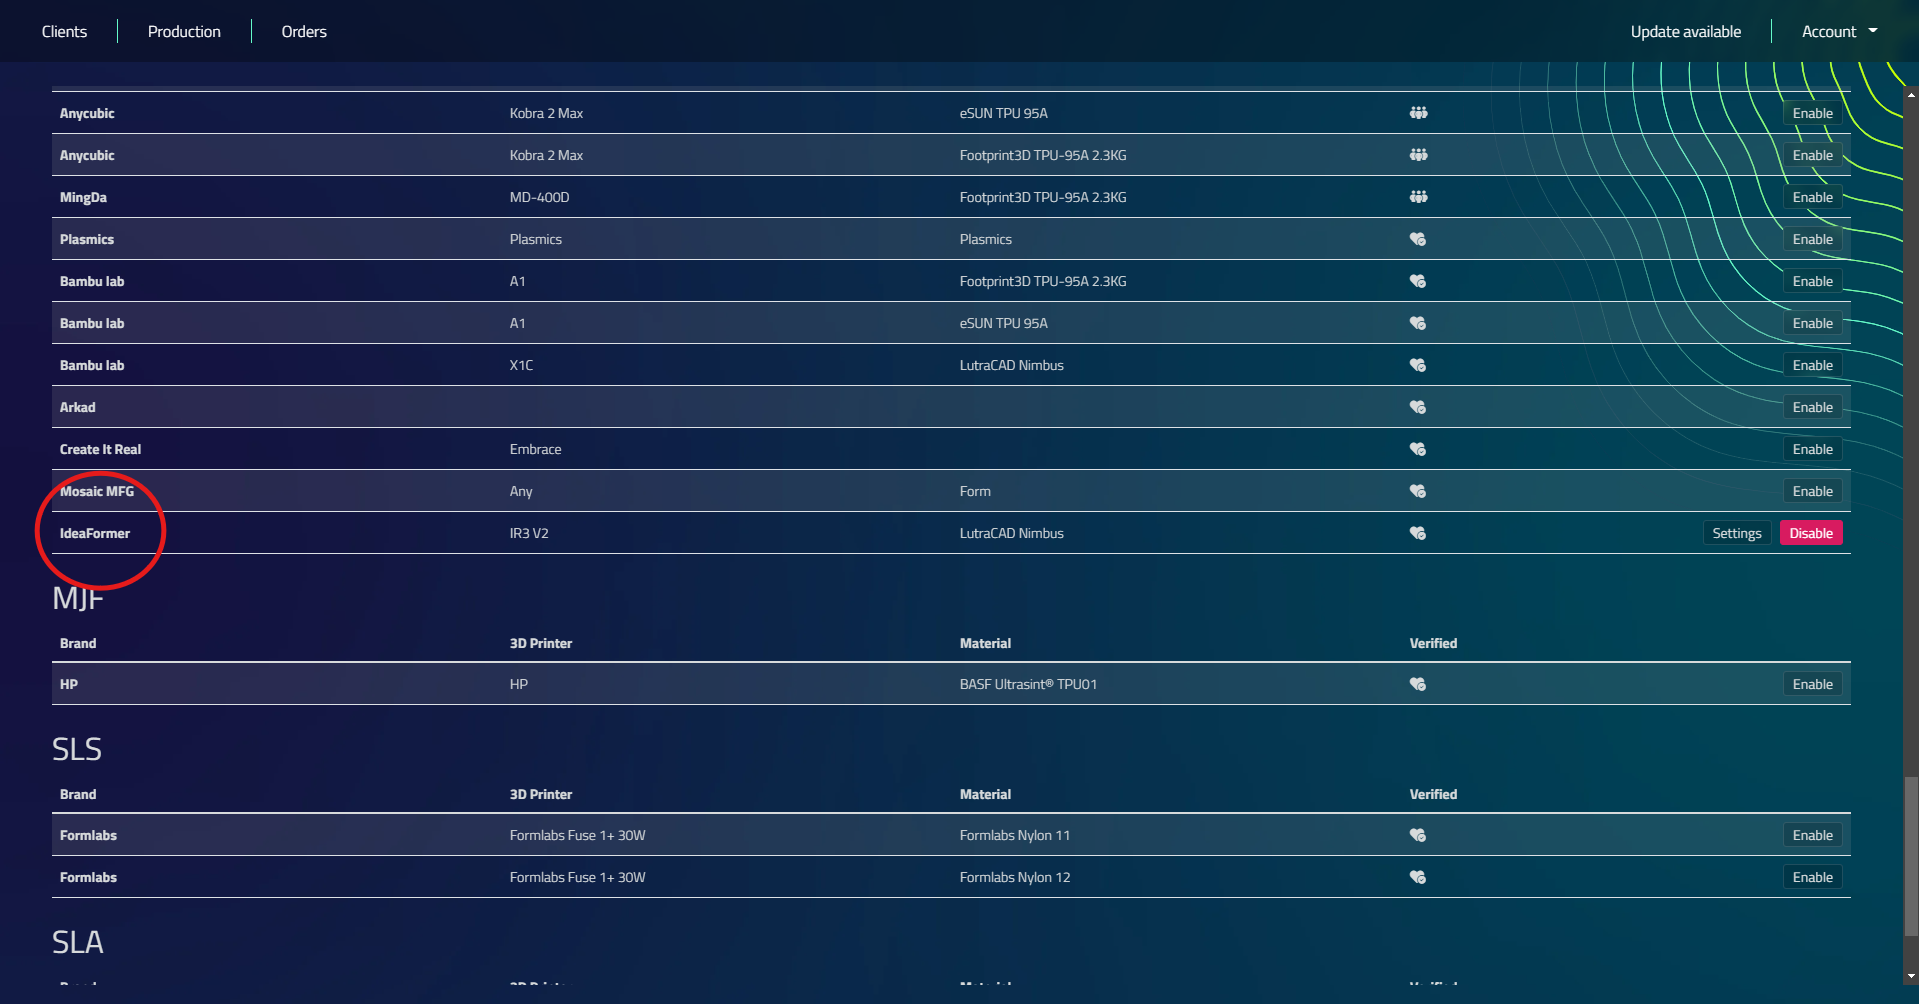
3. Check diameter
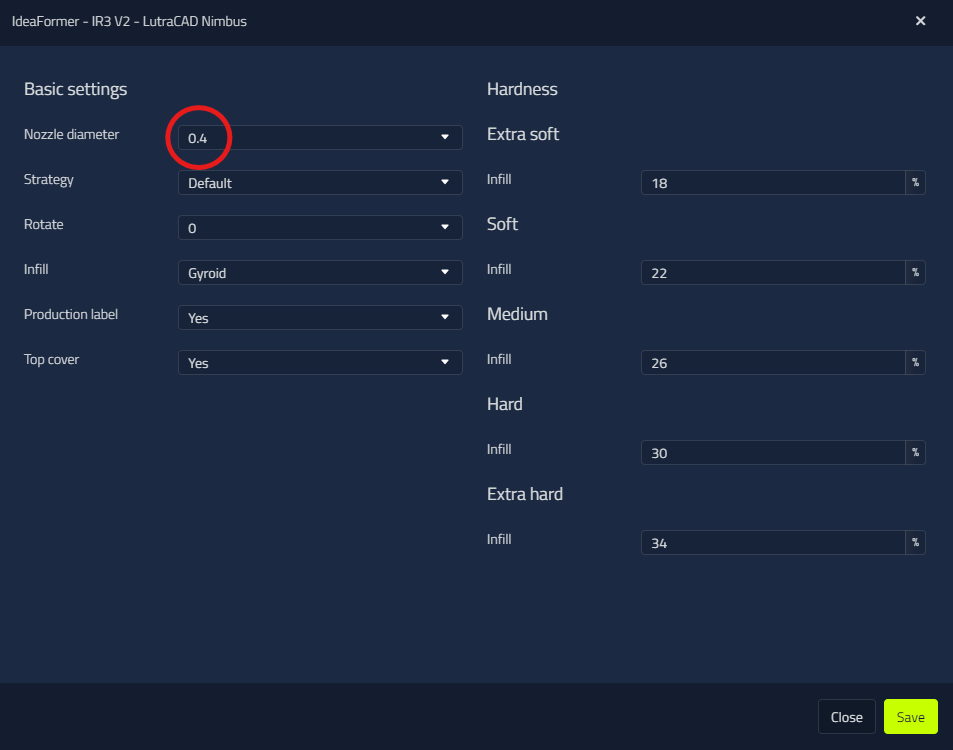
Click on Settings and set the nozzle diameter that you are using. The default nozzle is a 0.4 mm.
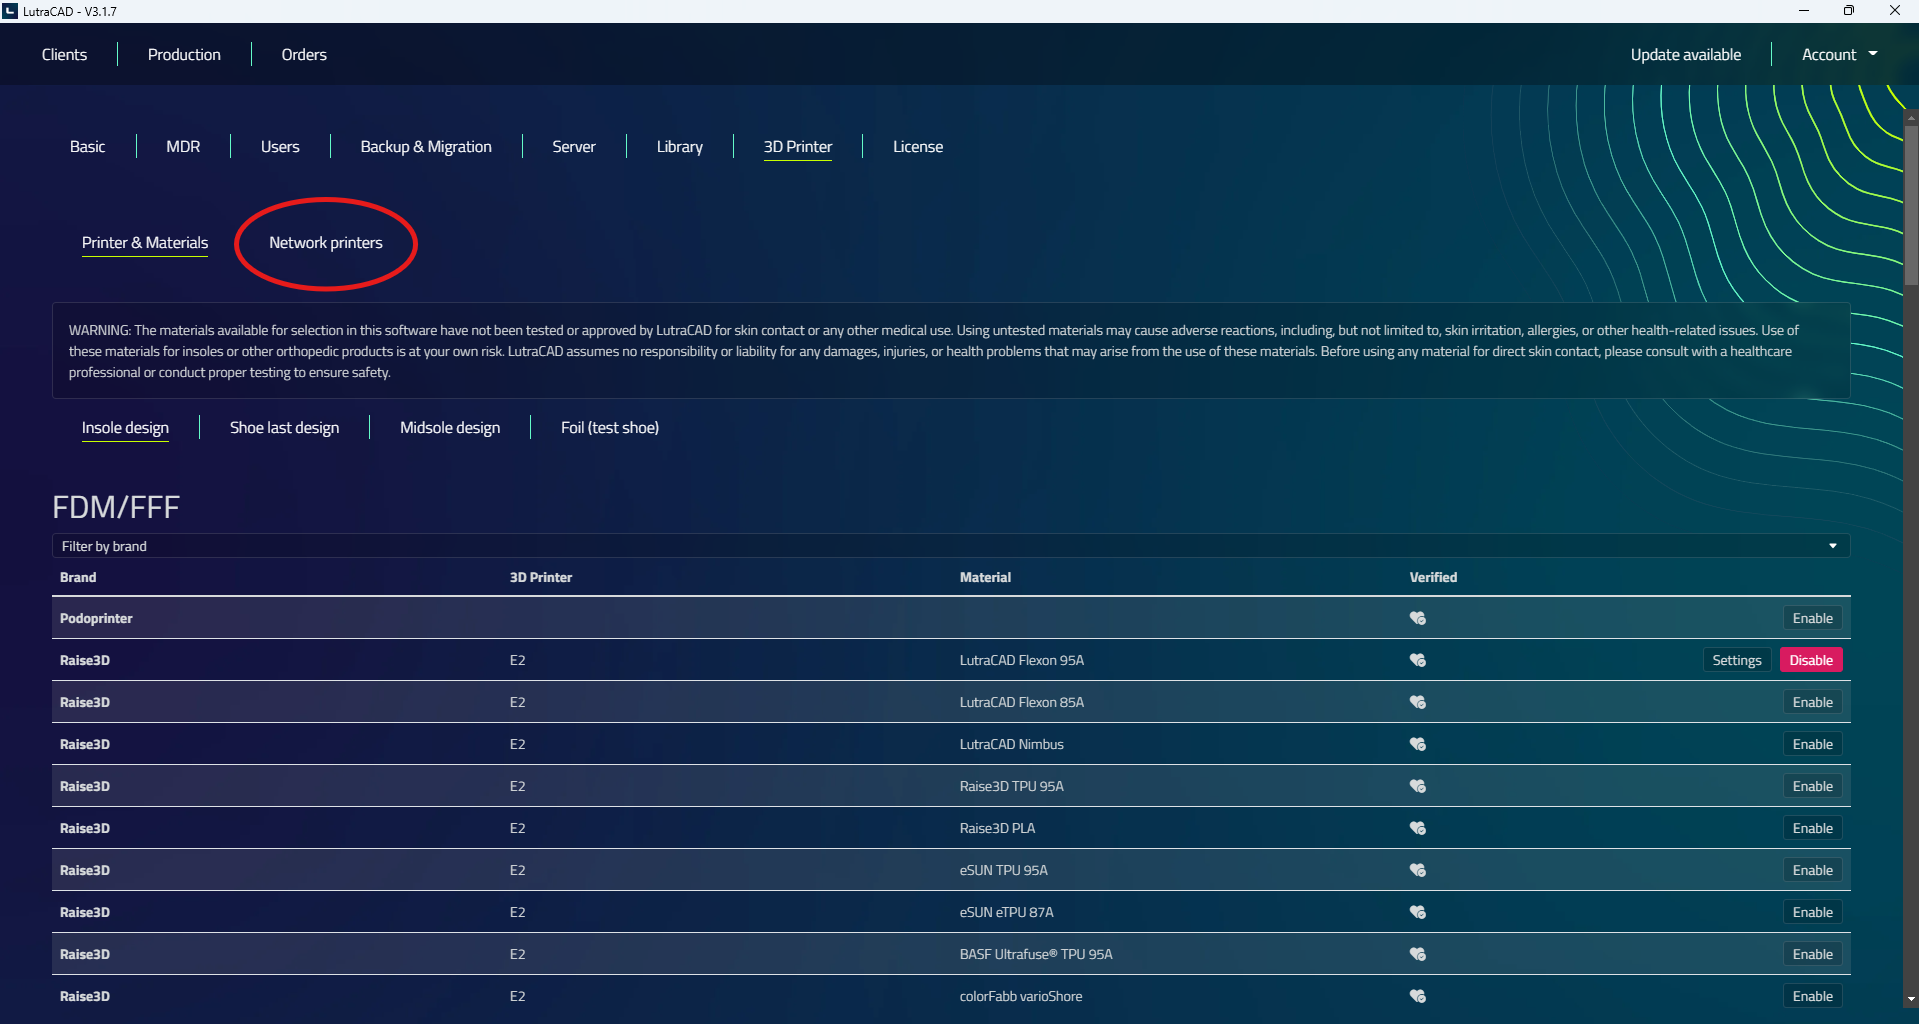
4. Go to network printers
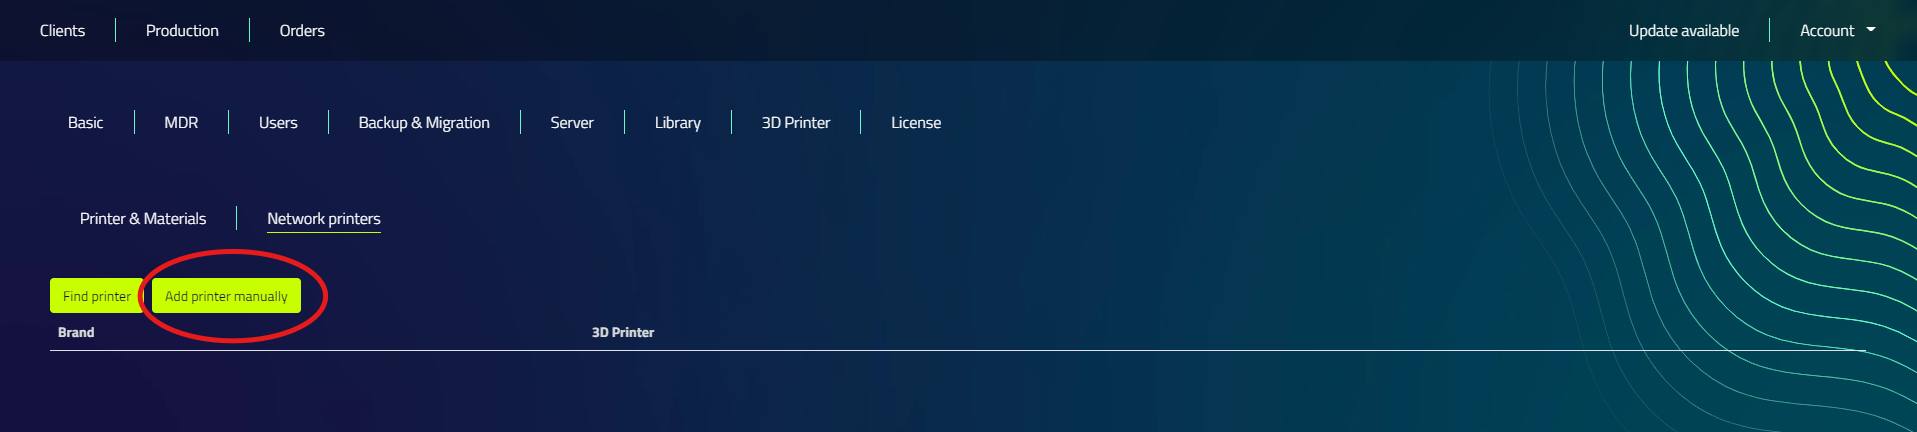
5. Add the printer
- Click on"Add printer manually".
- Fill in the IP address of the printer (example: 192.168.178.1)
- Give the printer a name
6. Configure printer
To make the printer work optimally for insoles and remember configurations configure the printer by:
- Click on Settings next to the added printer
- Configure printer After clicking configure the printer will reboot.
7. In a browser go to the IP address
- Open a browser (e.g., Chrome/Firefox)
- Fill in the IP address as the website URL
8. Y-Offset
The printer prints too close to the belt by default and the insoles won't come off. To prevent this:
- Click "Y-offset up" 6 times.
You can find a page about the Y-Offset here.
To view your current Y-OFFSET type "get_position" in the console.
9. View queue
View the queue: go to the Tasks tab on the left.
The queue is only visible if there is a queue.
(You can adjust the queue order here).
10. Connect Webcam (Optional)
- Connect the webcam with USB on the side of the touch screen.
- Turn the printer off and on again.
- Webcam should now be visible in the browser.